

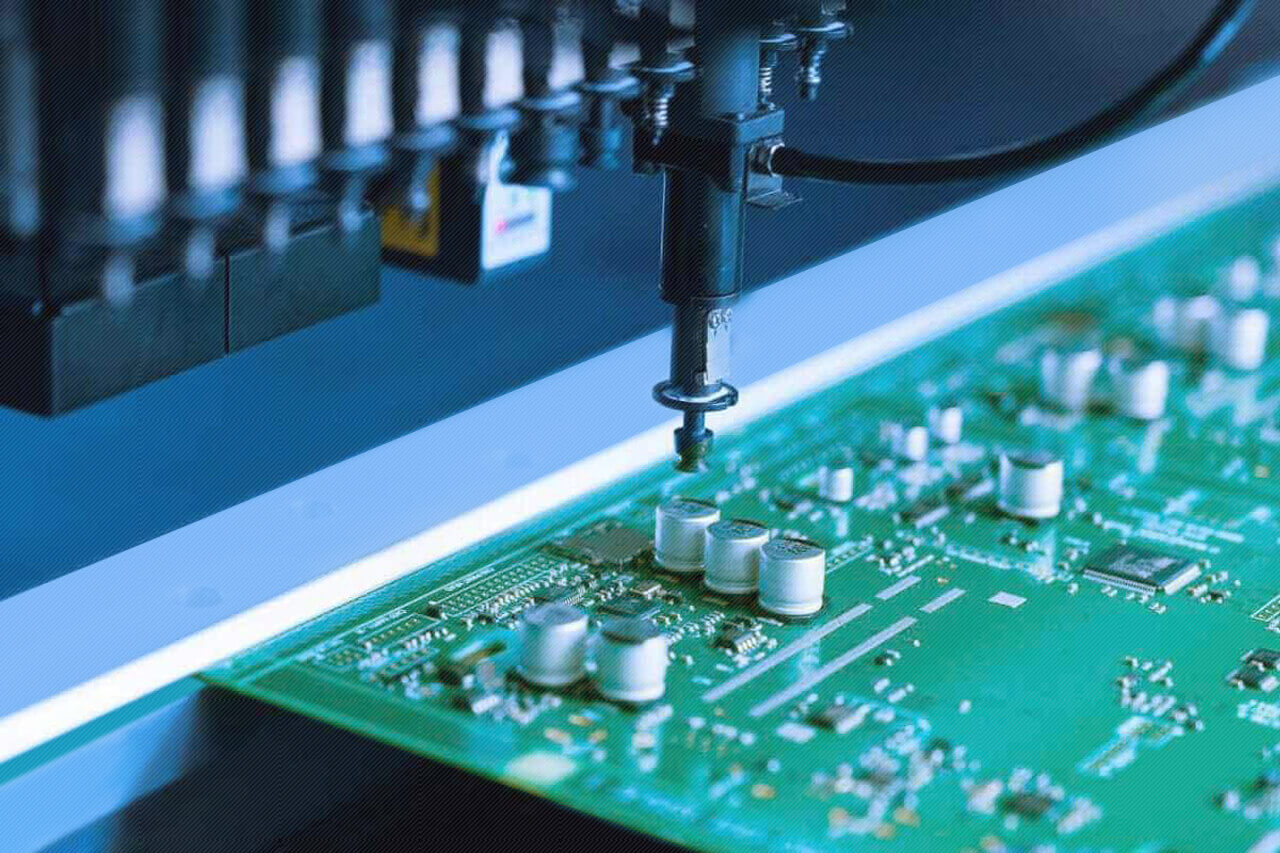


Do you ever wonder why your electronic devices randomly glitch or seem to die for no reason? One big reason is Interference in the printed circuit boards (PCBs) inside them. PCBs are the nervous system in your devices that link up all parts to make them work.
Designing them isn’t easy, though, especially when it comes to dealing with EMI and noise being the EMI and noise are static, interfering with the signals inside the circuit. They can cause your gadgets to perform poorly or not at all!
This article will investigate the causes of Interference in PCBs and how it impacts devices. We will also provide some tips on how designers can solve these problems. So, if you are an engineer or just interested in knowing the tech and what to do when your electronics start acting up. This is a guide for you!
Impact Of Interference
Interference can mess up circuits’ workings. Various kinds of unwanted electromagnetic signals, called noise, can corrupt or interfere with the signal. Noise can only degrade the received signal within a system and cannot bring about fluctuating changes by itself.
Imagine trying to talk while loud static plays on the radio in the background. This is literally what Interference does to circuit signals. In some cases, it can even prevent a device from functioning. Your phone may drop calls, your computer freeze, or your TV display screwed up lines.
Proper interference management is critical to all devices functioning reliably over long periods of operation without a hitch and saving you from costly repairs, frustration, and time wasted in dealing with them. These issues can be prevented when PCBs are properly designed to minimize any potential interference and enable them to operate at their best.
Sources Of Interference In PCBs
Now that you are familiar with the impact of interference let’s move closer and learn the main sources that lead to interference in PCBs. These are the primary:
- Conducted Emissions: These stem from PCB traces having current flow and noisy currents created on adjacent traces or coupled into the power supply. This type of noise can affect the circuit function.
- Radiated Emissions:The PCBs’ components and circuits can generate electromagnetic waves that disrupt other electronic devices. For example, if you held your phone close enough to your computer speakers, you’d hear a buzz. Such radiated emissions may interfere with electronics in the vicinity and lead to performance issues.
- Crosstalk: It is electromagnetic coupling between closely spaced PCB traces. This can cause signals from one trace to inadvertently couple into another, creating pathways for undesired signal transmission.
- Grounding Noise:This occurs when there is more than one ground path at different potentials, as they form a closed loop that can pick up and amplify noise. The noise might pick up sensitive signals without proper grounding and cause interference.
Techniques To Minimize Interference In PCB Design
So, now that we understand where Interference is introduced in PCBs let’s explore what to do about it! Here are the crucial techniques that can help to avoid Interference in PCB design:
1. Grounding and Shielding
Proper grounding practices are important for reducing Interference. Multi-point grounding, which involves independently grounding different sections of the PCB, can prevent ground loops. Ground loops are essentially antennae; they pick up noise and amplify it, leading to interference.
However, you can also do this if all ground connections are already at equal potential (say that everything on a given PCB is properly grounded). Such techniques include shielding to block external electromagnetic fields using a Faraday cage around sensitive components to protect the circuit from outside Interference.
2. Decoupling Capacitors
Decoupling Capacitors are super important for filtering noise from the power supply. These components act as tiny energy sumps, filtering out dirty power for our devices and soaking up any current spikes at each component.
Decoupling capacitance is more effective, and finding the right type of decoupling capacitor while placing it near power pins of integrated circuits (ICs) can also help maximize its effectiveness. The proximity eliminates high-frequency noise, enables a stable power supply, and reduces Interference.
3. Power Plane Design
A continuous, solid power plane is a must for noise prevention. A well-designed power plane should offer the lowest impedance path for adequate power supply and, hence, can decrease conducted emissions.
This setup of keeping the power and ground planes close together helps minimize the loop area, which also reduces noise. This method ensures that the PCB works seamlessly without any power supply interferences.
4. Signal Integrity Practices
Reducing Interference and achieving optimal circuit performance depends on maintaining signal integrity. Here are some essential guidelines to remember:
- Controlled Impedance Routing: It involves keeping the trace at constant Impedance. It is equally crucial for high-speed designs. This avoids signal reflections and maintains the integrity of the signal. Controlled impedance routing guarantees signals will cleanly propagate through your design without distortion.
- Trace Routing Techniques: Implementing proper trace routing techniques goes a long way toward minimizing noise coupling and crosstalk. Spacing traces properly, keeping them as short as possible and at a minimum by avoiding sharp bends, makes a difference in reducing Interference. In addition to better routing techniques, wider traces can also be used to lower resistance and produce a higher-quality signal.
- Differential Pair Routing: This method can be used for high-speed differential signals, helping to reduce Common-mode noise. Pairs of signals are routed together with the same length so that any noise on each gets picked up identically and, therefore, cancels out. These methods help maximize high-speed data transmission.
Layout Considerations For Minimizing Interference
After discussing techniques for reducing Interference, let’s discuss how your PCB layout can significantly impact. The following are some crucial tactics to remember:
● Component Placement
One step that can drastically affect the function of the PCB is where you place all of your components. Sensitive components like analog circuits should not be placed near noisy ones, like high-speed digital circuits or power supplies.
Separating the noisy and sensitive components will avoid adding unwanted noise to critical signals.
To reduce cross-interference, you should place analog components on one side of the PCB and digital parts at the opposite end. Having the connectors and I/O drivers near the board edge also helps reduce the signal length of noisy source signals.
● Segregating Analog and Digital Signals
Finally, keeping analog and digital signals isolated is important to maintaining signal integrity. Analog signals are easily disturbed by noise, and keeping them away from digital-signaling wires, which produce electromagnetic Interference, is necessary.
For this purpose, creating well-defined sections based on the type of signal, analog or digital, on the PCB will ensure separation. Using different ground planes for analog and digital circuits prevents digital circuit noise from contaminating the analog ground.
Simulation And Testing
Using simulation tools for your PCB layout has many advantages. These tools help engineers anticipate and eliminate related issues before building a physical prototype. This is where simulations come to ease!
1. Benefits of Simulation Tools
There are many perks of using simulation tools in PCB design. Here are some key benefits:
- Early Problem Detection: It allows the User to identify potential problems in a virtual environment before they become actual problems.
- Saving Cost and Time:Identifying the problems at the earlier stage of prototyping saves you time
- Behavioral Modeling: Develop a model of the circuit’s behavior to see how its components work together and refine the design.
- Design Refinement: Experiment with various layout, grounding, and shielding options without resorting to physical test validation.
- Improved Performance: Get your design optimized for better setup performance. This will provide you with smoother and improved operation reliability.
Risk Reduction: Verify that your design concept is well-considered before it goes into prototyping to minimize the potential for expensive redesigns.
2. Predicting and Mitigating Interference
More than identifying problems, simulations display where and how any interference could occur in real life on your PCB. Are the high-speed signals too close to a sensitive trace? Or is the specific placement of components leading toward grounding problems? When you locate these problem areas, simulation tools enable you to address them.
You can try different grounding schemes, move components around, and experiment with shielding to see if any of these ideas help improve performance. This will save you from building multiple physical prototypes and optimizing your design for the highest performance and reliability, ensuring your PCB is capable of working in the real world.
Conclusion
Taking these considerations into account is crucial when tackling Interference in PCB design. Knowing the sources of interference is crucial to ensuring your electronic devices perform well and remain operational for years.
Employing proper grounding, shielding, intelligent component placement on your board, and decoupling capacitors can help mitigate these issues. This approach will help you design effective PCBs.
If followed, these strategies can help you control Interference, leading to enhanced performance of your electronic components and better-functioning products.