Are you struggling to learn how to prototype your circuit board for your project? It can be pretty tricky figuring out all the steps, including the tools required. But don’t worry; all this gets broken down for you in this guide.
We will go through each step, starting from how your design gets created, up to testing your completed board in a very simple and easy way to follow. We will end up in a place where you are confident in turning your thoughts into a real, implemented prototype.
So, let’s get started.
What is a Prototype Circuit Board
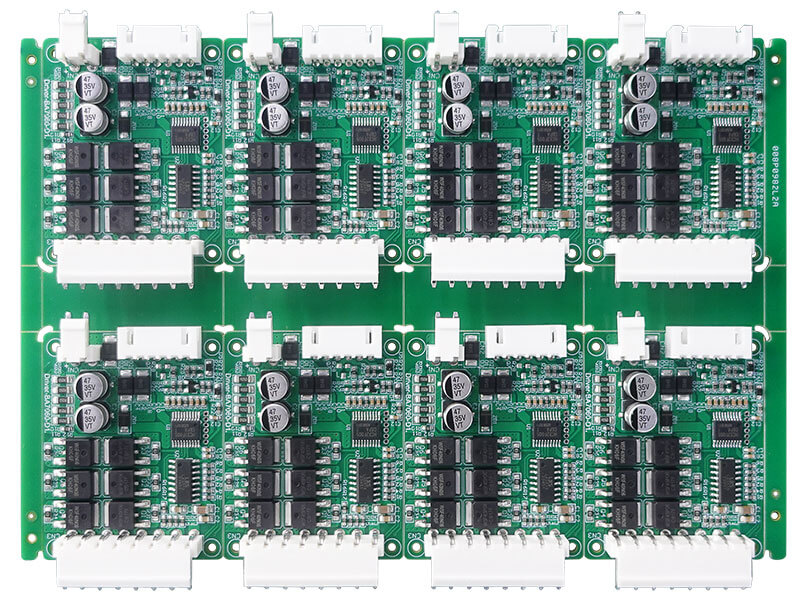
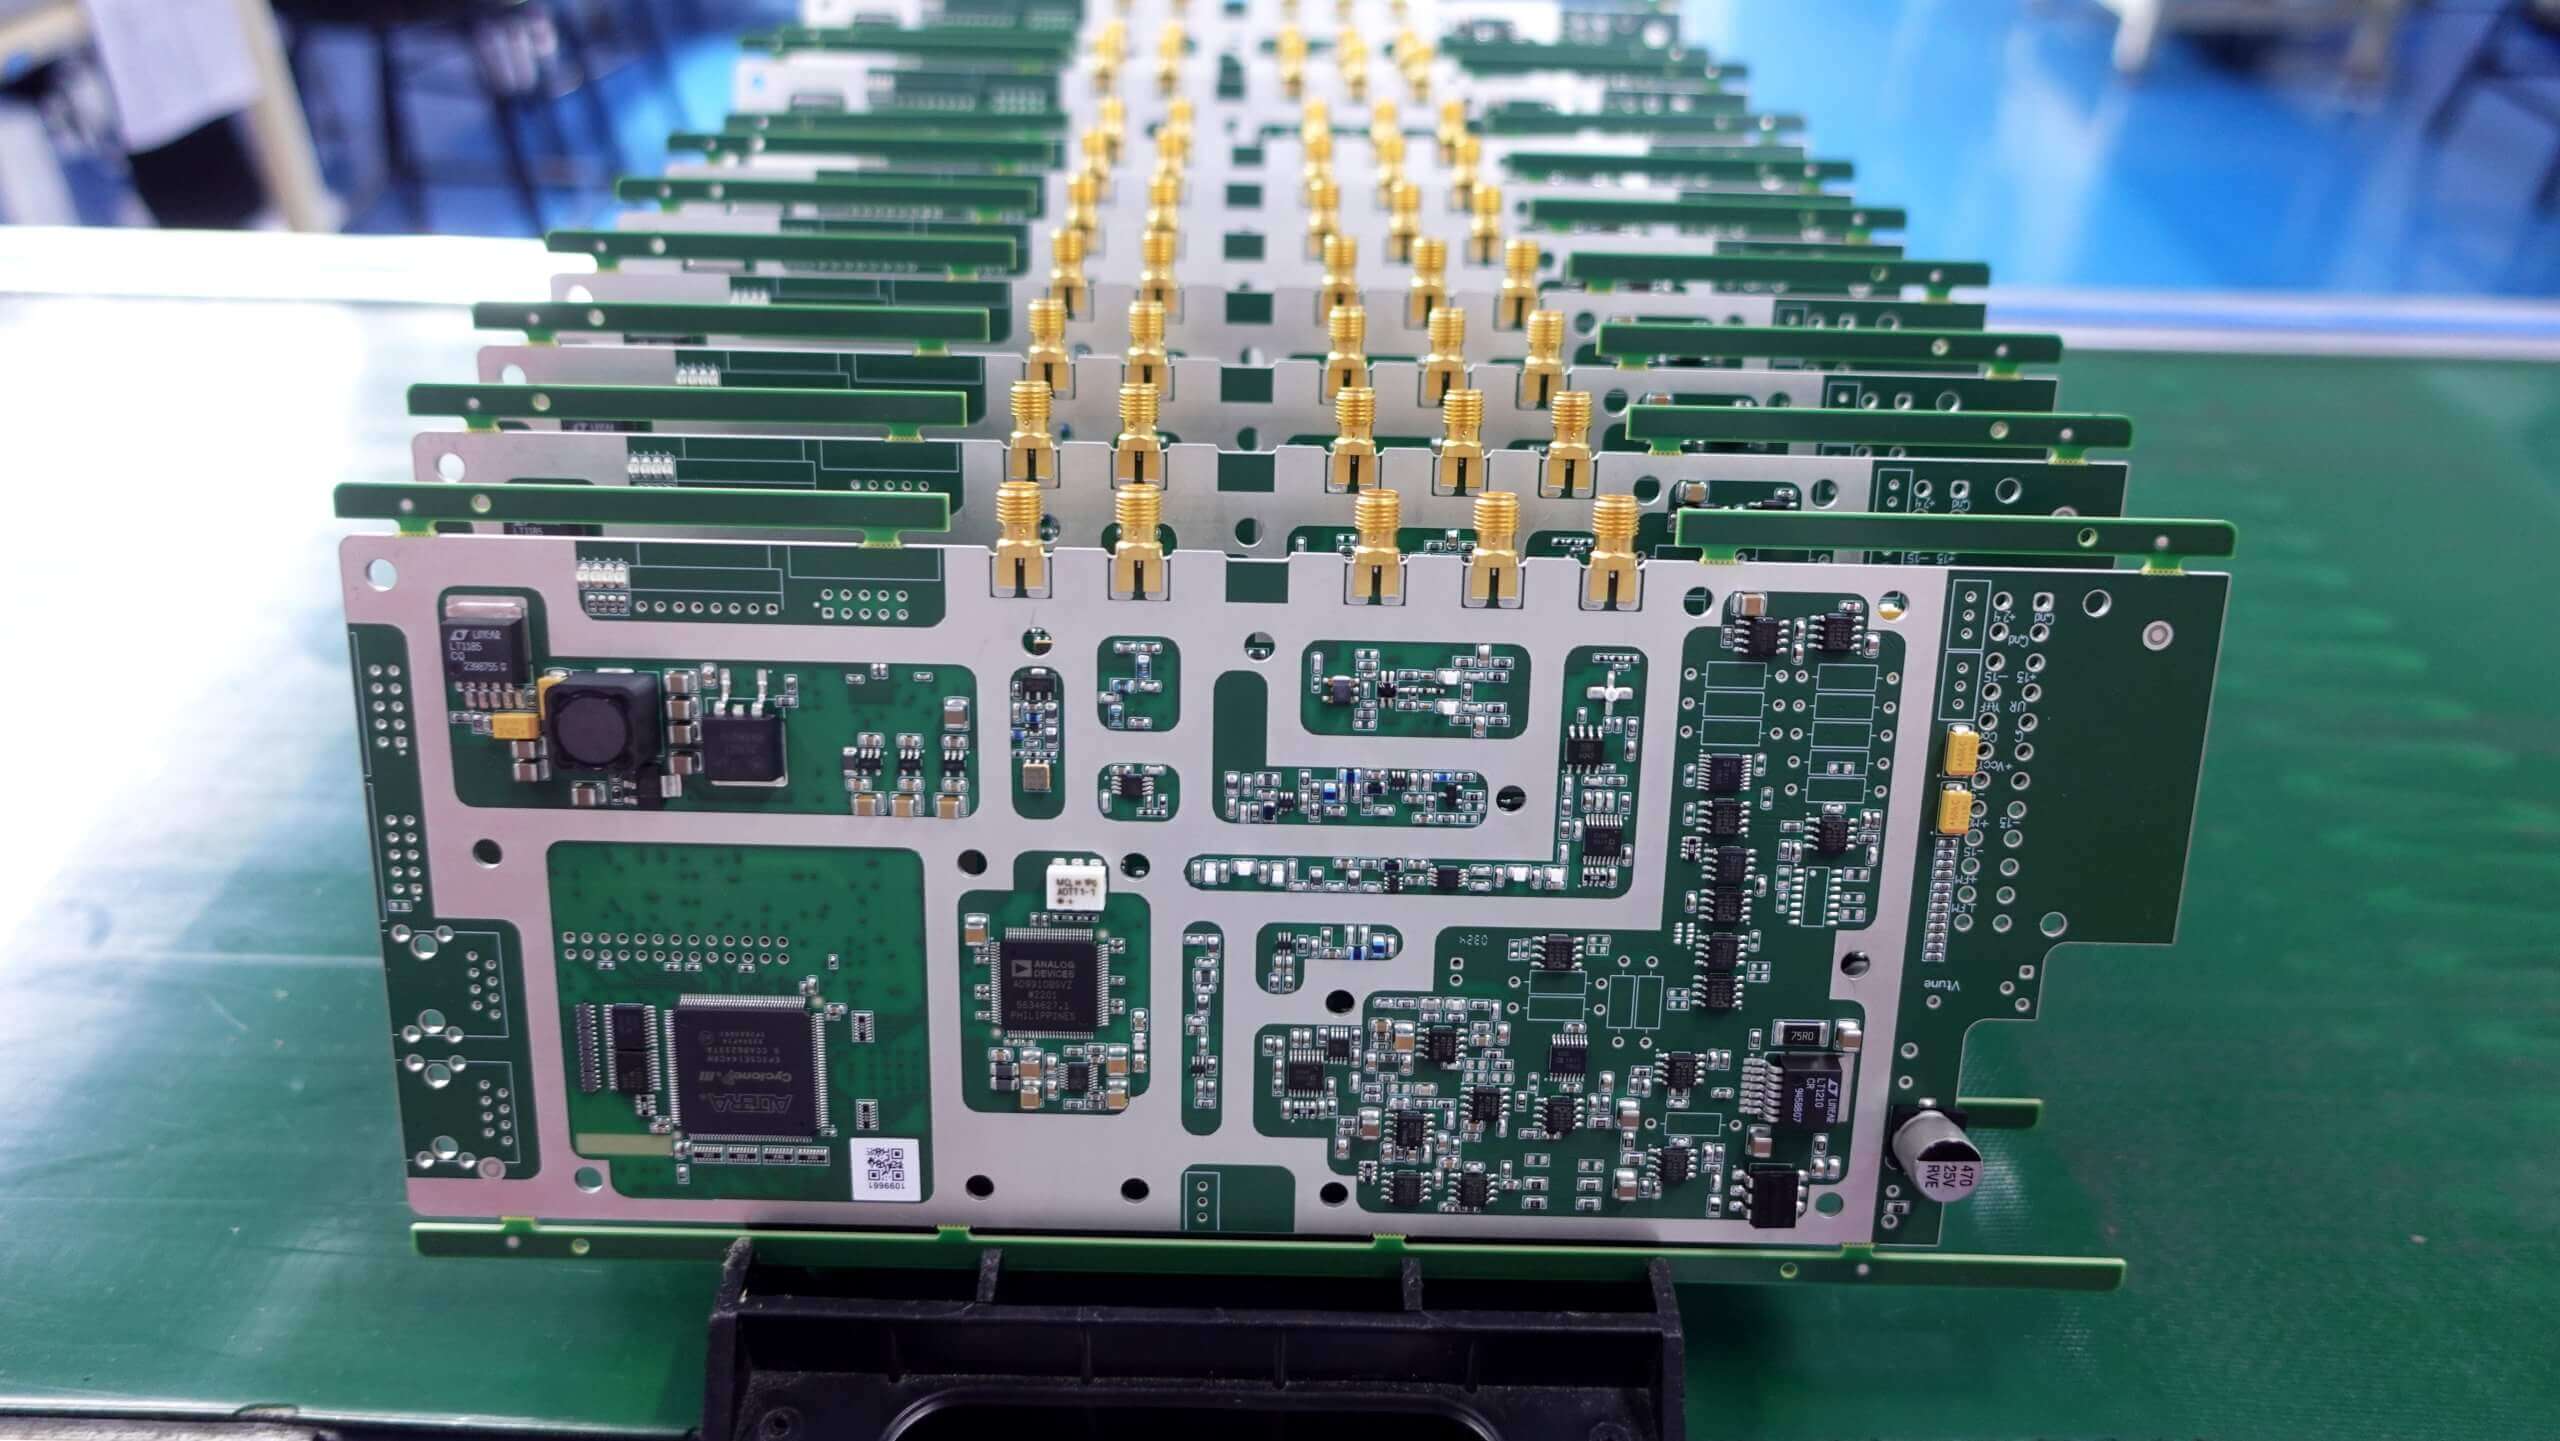
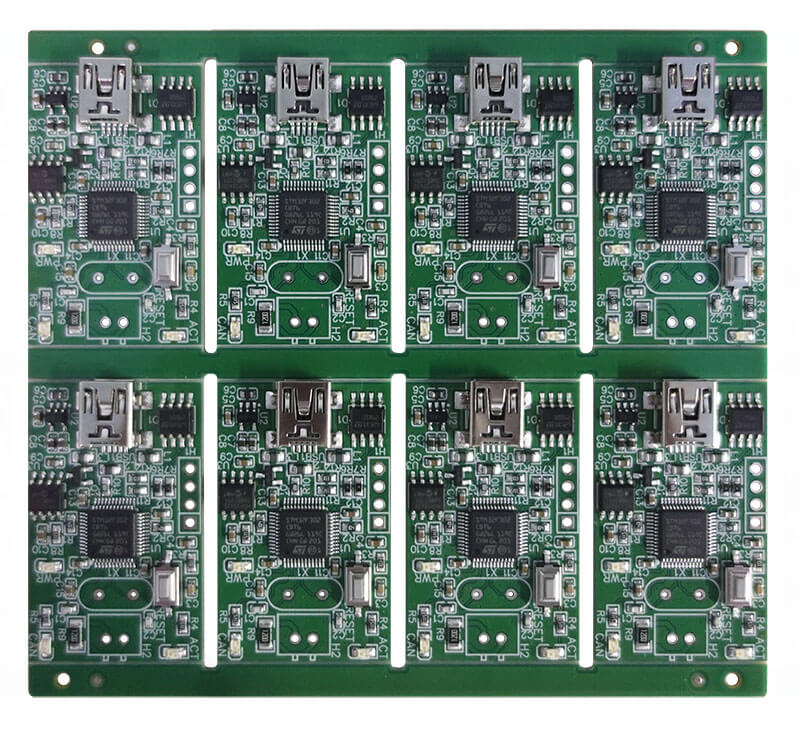
A prototype circuit board is designed in the development stage to check the design method before going into full production, serving as a test pattern to enable you to establish whether your design really works and what the problems are.
Building a prototype when building an electronic device is analogous to the dress rehearsal prior to the real performance. In building a prototype, one gets to know how the design performs in the real world, so one is able to detect the early anomalies in his or her project. In building a prototype, the solution to such a problem will be cheaper at these levels than at the production stage.
In essence, a prototype circuit board can help you check that everything works beforehand according to the plan before you proceed to production.
Now you must be wondering what’s the difference between PCB prototyping and full-spec production. Let’s discuss this in detail.
Difference Between PCB Prototyping and Full-Spec Production
PCB prototyping and full-spec production are thus two phases of PCB manufacture.
PCB prototyping involves overseeing the workup version of your circuit board. This is just in testing whether the design works right; thus, pointers of the problem come up. Prototyping is made quickly, may not be detailed, and is strong like the final product. This stage helps you fix issues before moving on to making a lot of boards.
Full-Spec Production is the final stage in the process of producing the circuit boards in mass quantities. This step uses more advanced and reliable ways to ascertain that every board is manufactured with a high level of preciseness and quality. Full-spec productions are also strictly based on guidelines to make sure the final product is at par with all means.
A Step-by-Step Guide to Creating a Prototype Circuit Board
Here are step by step instructions:
Step 1: Designing the Schematic
First, you should prepare your circuit diagram into a schematic. It is a detailed drawing depiction of how all the components are interconnected. Now, lay down your circuit using schematic design software; be sure all of the components are connected properly.
Step 2: Creating the PCB Layout
After you finish the schematic, get started on creating the PCB layout. That is, concretely arranging the components on the board and then routing electrical connections between them. The layout has to be very precise, so the circuit operates as it should.
Step 3: Generating the Files
Generate files now that a manufacturer would need to produce your product. These are the Gerber files with all information concerning the design of your printed circuit board. Files have to be correct to result in materials being delivered to you with no problems.
Step 4: Choosing the Prototyping Method
Make a decision on how you are going to create your prototype. This is commonly conducted through etching, milling, or prototyping a professional service. understand the pros and cons of each method; decide according to your requirements and conditions.
Step 5: Manufacturing the PCB
Fabricate the PCB using your chosen method of prototyping. The basic idea here is to make a physical board from one’s design files. Of course, one needs to be careful throughout the process in order to generate a board identical to what one has designed.
Step 6: Drilling the Holes
After the board-making process, drill holes that are necessary for mounting components. Correctly drilling holes is important for proper component fitting as well as for connecting reliably.
Step 7: Soldering the Components
Solder electronic components onto the PCB. Thus, in this step, melted solder can be used to fasten components onto the PCB. Avoid soldering errors, which in turn end up causing circuit problems.
Step 8: Testing the Prototype Circuit Board
Finally, test the prototype to ensure it works as expected. Check all connections and functionality to make sure the circuit performs correctly. Troubleshoot any issues and make necessary adjustments.
These, when followed accordingly, will assist you in making and testing a prototype circuit board. This helps you perfect your design before going into full production.
Conclusion
The prototype circuit board is an important step toward bringing your idea in the field of electronics to life. Prototyping captures and fixes mistakes upfront so they don’t cost you extra time and money in the long run. These steps will set you well on your way to developing a successful final product.

