


Understanding a PCB can seem daunting, but it is a very critical skill for any person involved in electronics repair, troubleshooting, or simply understanding how electronic devices work. Does that confuse you when looking through those complex circuit boards?
There’s no need to worry, though, since this guide will cover extreme detail to make it easy for you to decipher and make sense of PCBs. So, by the end, you will have the confidence and knowledge to read PCB schematics, identify components, and troubleshoot simple issues like a professional.
So, let’s get started.
Understanding PCB Basics
PCB is an essential ingredient of any electrical or electronic gadget that refers to the physical forming by which a connection could be made of various electronic components within any gadget or device.
Think of it as the backbone of electronic circuits, ensuring everything functions harmoniously. PCB schematics serve as blueprints, detailing how each component is connected and organized on the board.
Reading PCB Schematics
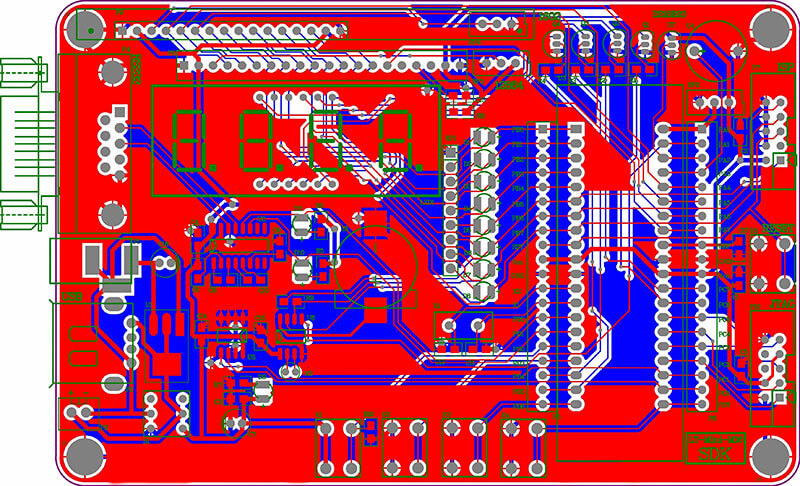
Reading a schematic is similar to reading a map of an electronic circuit. Every schematic has several vital elements which will be used to help show how the circuit is working.
Here are the basics that you will need to know.
1.Symbols
Symbols are pictures that represent different electronic components. Each component has its own symbol:
- Resistors: Shown by a zigzag line or a rectangle.
- Capacitors: Two parallel lines (for non-polarized capacitors) or one straight line and one curved line (for polarized capacitors).
- Transistors: Lines and arrows indicating current flow.
- Diodes: A triangle pointing to a line, showing current direction.
- Integrated Circuits (ICs): A rectangle with several pins coming out of it.
2.Connections
Connections, also called nets, are lines that show how components are linked electrically. These lines represent the pathways on the PCB:
- Straight Lines: Show direct electrical connections.
- Junction Dots: Small dots where lines meet, indicating a connection.
- Crossed Lines without Dots: Lines that cross but don’t connect.
3.Reference Designators
Reference designators are labels that identify each component on the PCB. They usually have a letter and a number:
- R1, R2, R3, etc.: Resistors.
- C1, C2, C3, etc.: Capacitors.
- Q1, Q2, Q3, etc.: Transistors.
- U1, U2, U3, etc.: Integrated circuits.
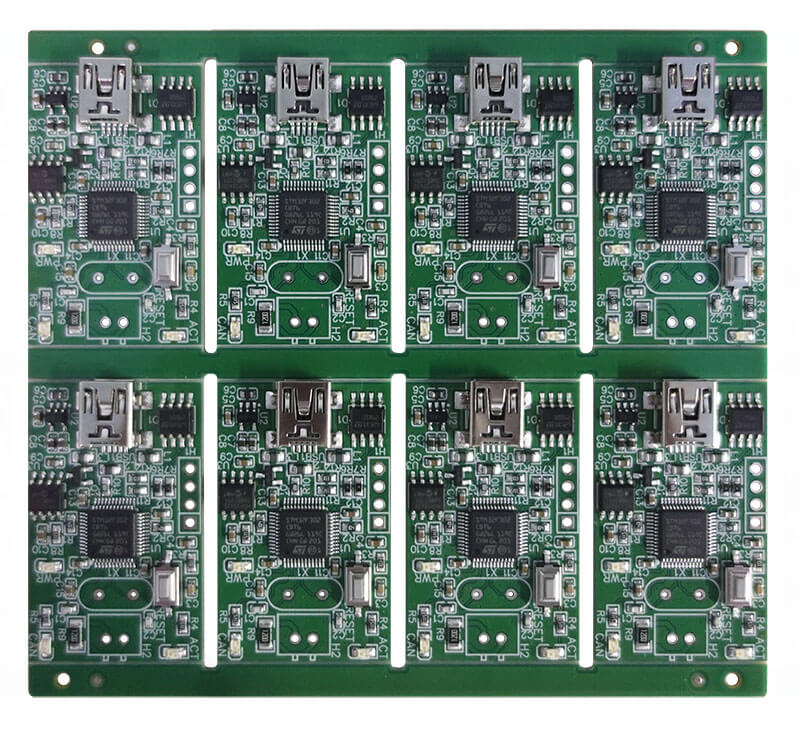
Identifying PCB Components
The part on the PCB is identified by its reference designator in a schematic. This is how you find them:
- Get the Schematic Diagram: First, obtain the schematic diagram of the PCB. This diagram includes all the symbols and connections of the components.
- Find the Reference Designators: Every device in the schematic has a unique reference designator; for example, R1, C2, Q3, etc. On the actual PCB, they are fully inscribed next to those components as well.
- Match up the Schematic with the PCB: Compare the schematic and the PCB, matching the reference designators to identify and locate every component upon the board.
Understanding PCB Markings and Abbreviations
Markings on a PCB reveal vital information regarding the components and the board itself.
Here’s what those markings mean in their detail:
Purpose of Markings on PCBs
- Element Values:These are the quantities that each element assumes: Resistance of resistors in ohms, capacitance of capacitors in farads.
- Logos and Part Numbers from Manufacturers: Manufacturers’ identification and the exact model or version of the PCB and its component parts.
- Regulatory Markings and Certifications: The latter ensure conformity to the specified safety and quality standards by governing regulatory bodies.
Common PCB Markings
1)Component Values:
- Resistor Color Code:The resistance value is repeated using colour-coded bands.
- Capacitor Markings:These are the numbers and letters on the capacitors that indicate their capacitance and voltage ratings.
- Inductor Markings: Generally tend to use like-value codes to capacitors.
2)Manufacturer Logos and Part Numbers
- Logos: Little symbols or icons to denote the company that made the constituent or the PCB.
- Part Numbers: Alphanumeric designations that, ideally, allow precise identification for order.
3)Markings and Certifications
- CE Mark:Demonstrate that the product complies with EU regulations of safety, health, and environmental protection.
- UL Mark: This shows that the minimum standard requirement for safety has been met in the product according to the Underwriters Laboratories.
- RoHS:Compliant with Restriction of Hazardous Substances.
Basic PCB Troubleshooting
It entails identifying and, in some cases, correcting problems that may result in a circuit operating strangely. Below is a list of beginner basic techniques:
Visual Inspection
Start by closely inspecting the PCB during the visual check. Look for indicated:
- Damaged Parts: Check out the parts that seem to have been burnt, cracked, or damaged.
- Solder Joints: Examine solder joints for bright, shiny, smooth surfaces. The dull-gray board is not acceptable.
- Burn Marks: Inspect for burn marks on the board, which may indicate overheating or short circuits.
Measuring Voltage Using a Multimeter
A multimeter is a versatile test and troubleshooting device for PCBs. This is how you may use one:
- Measuring Voltage:
- Set the multimeter to the appropriate voltage range.
- Connect the probes to the points you want to measure.
- Compare the measured voltage to the expected value from the schematic.
- Checking Continuity:
- Set the multimeter to the continuity mode.
- Touch the probes to the two points you want to check for a connection.
- A beep or a reading on the multimeter indicates a continuous path.
- Testing Components:
- Resistors: Measure resistance to check if it matches the expected value.
- Capacitors: Measure capacitance if your multimeter has this function or check for shorts.
- Diodes and Transistors: Use the diode test function to check for proper operation.
Safety Precautions
Safety is crucial when working with electronics. Here are some important precautions:
- Power Off: Always ensure the PCB is powered off and unplugged before starting any inspection or testing.
- Discharge Capacitors: Capacitors can hold a charge even after the power is off. Discharge them safely before working on the board.
- Use Proper Tools: Use insulated tools and wear safety glasses to protect yourself.
- Work in a Safe Environment: Ensure your work area is clean, dry, and free of flammable materials.
Final Words
Understanding PCBs when you look at them for the first time seems pretty hopeless, but it gets easier with practice. The encoding of schematics, identification of components, and simple troubleshooting guide you on how to fix and understand electronic devices better.